Hello! It’s becoming peak autumn for those of us in the Northern Hemisphere who have four seasons. As a former Floridian, colorful foliage felt like the stuff of fairytales until I got to see it as an adult. The stories were true. If you don’t live somewhere with changing leaves, I highly recommend prioritizing a leaf-peeping trip to an uncrowded destination each year if you can—even if it means camping in tents!—because it’s just so unbelievable that we get to live in a world where nature looks like a rainbow for a month. (Spring is shockingly colorful, too.)
Here are some simple crafts that you can do with any leaves (even plain green ones.)
Headbands
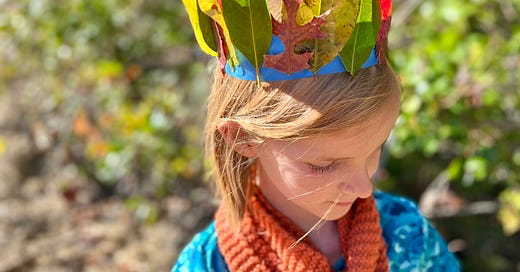
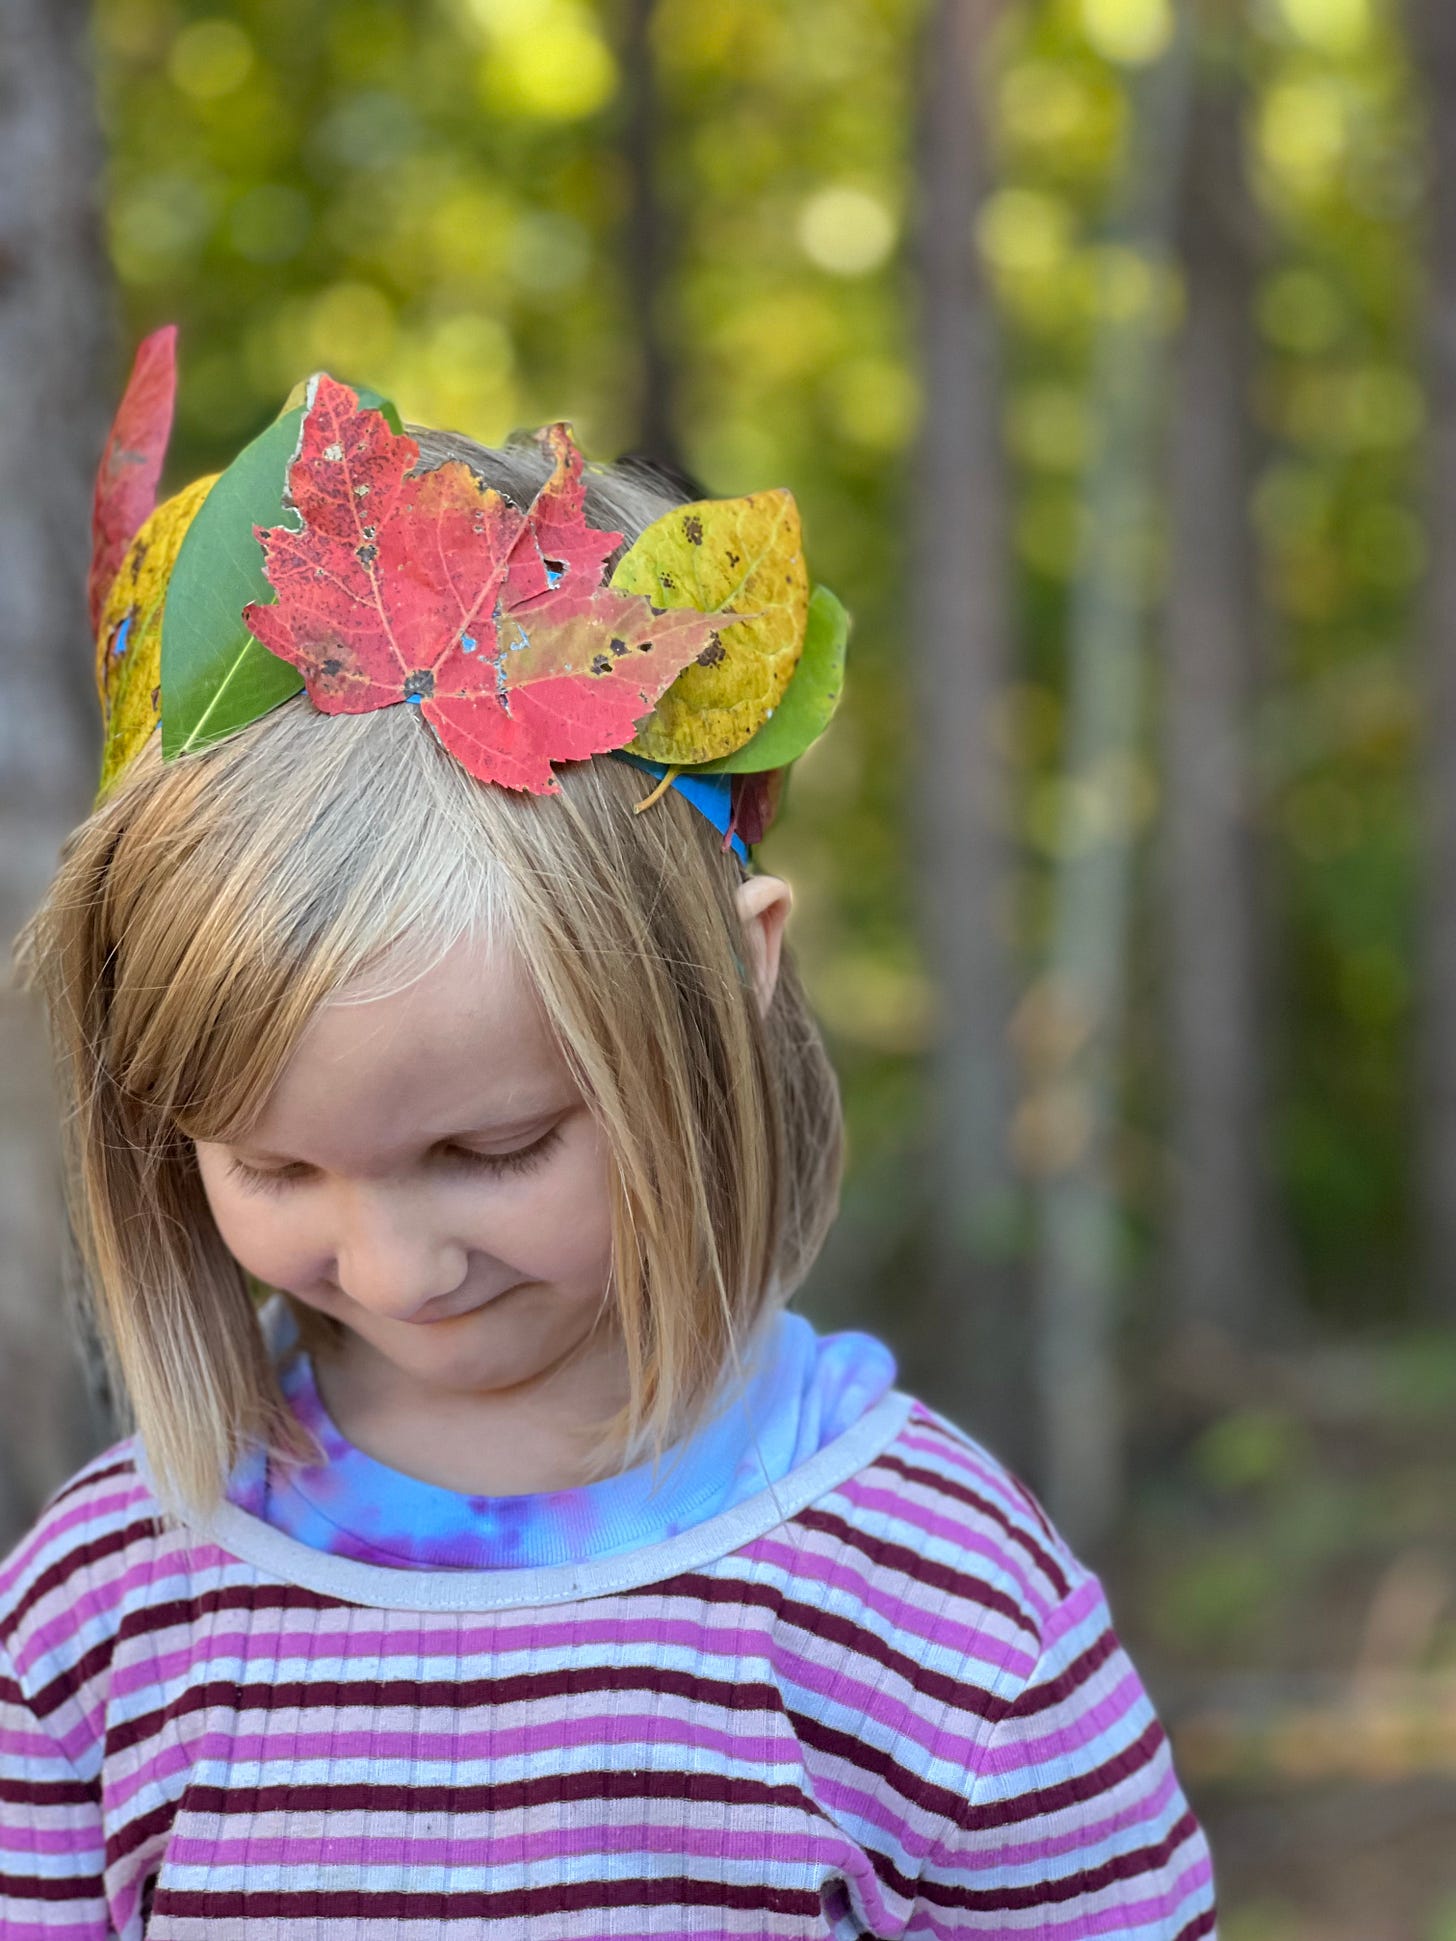
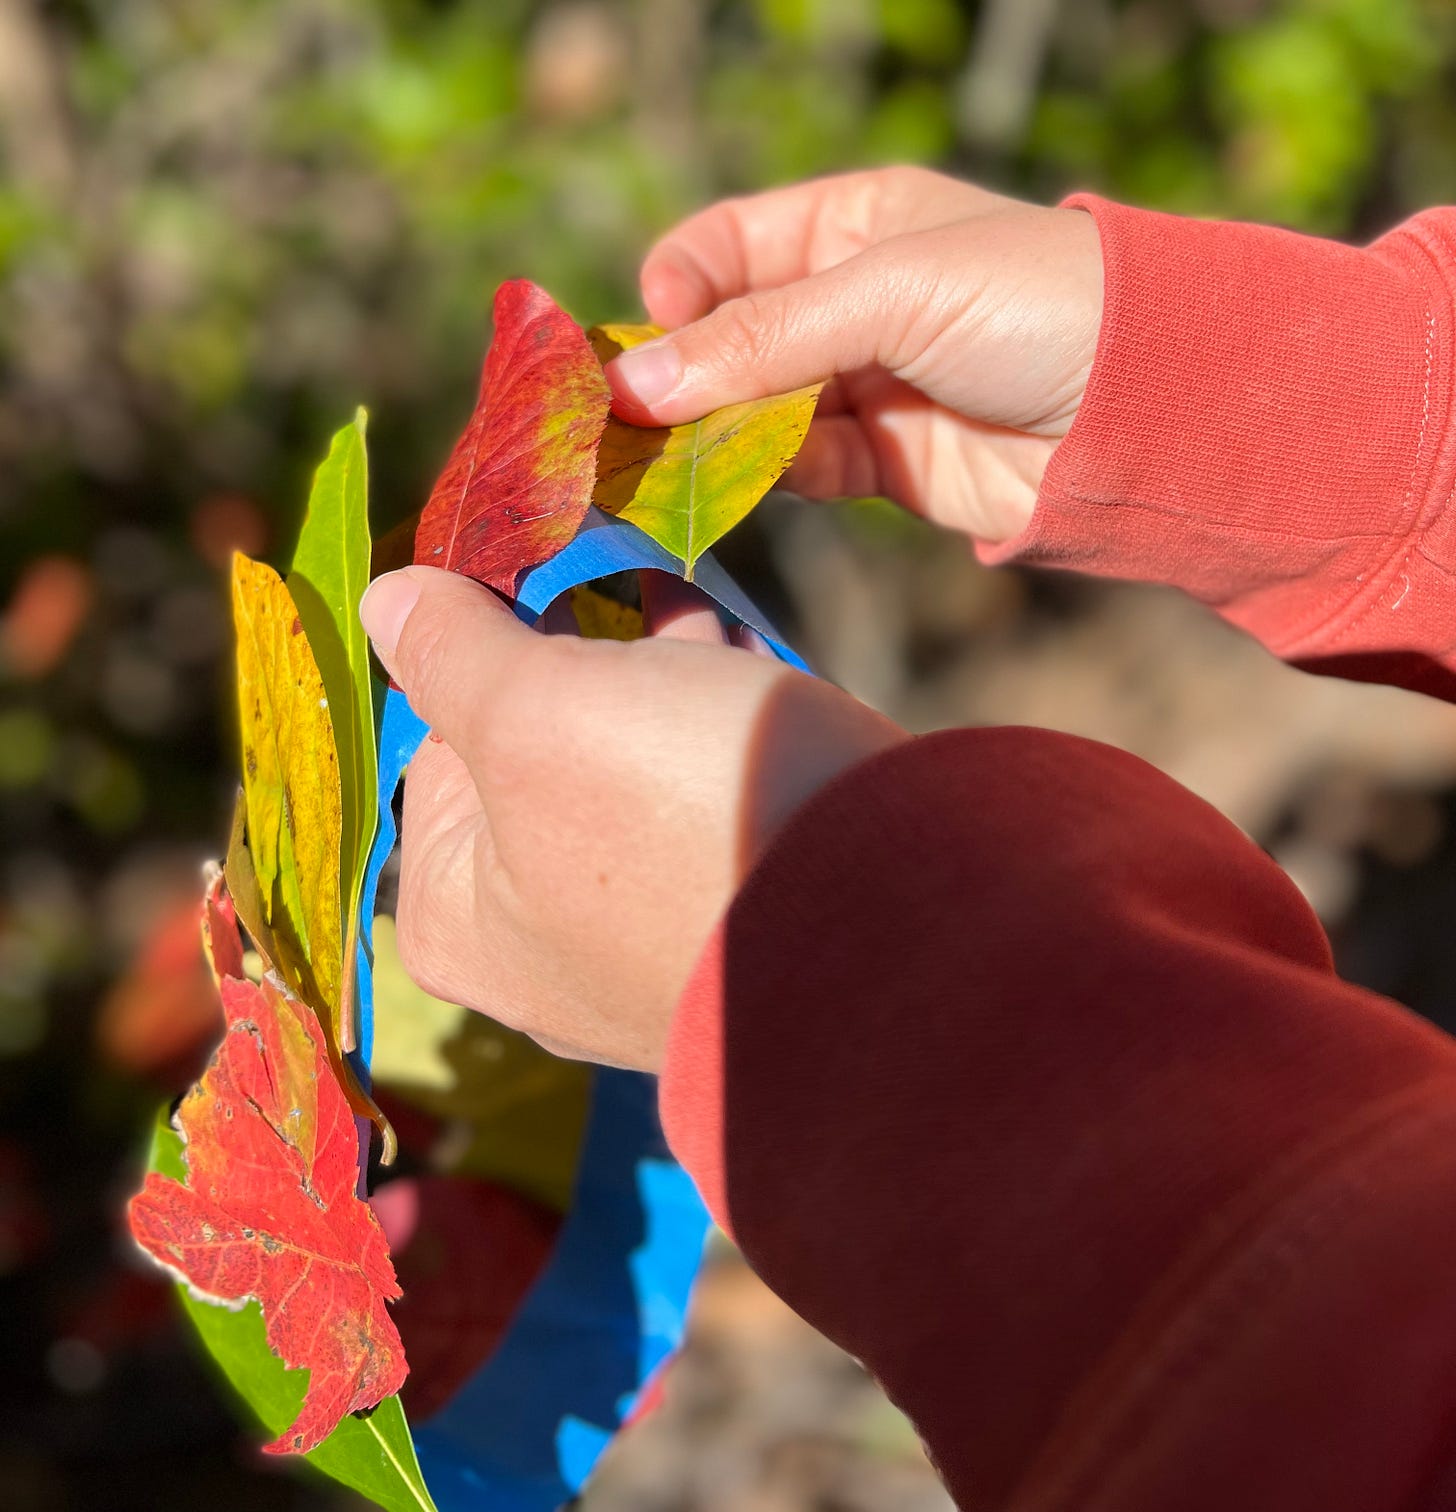
I’ve felt a bit intimidated by fall leaf headbands that are made with sewing, stapling, or folding leaves in a special way, but my 8-year-old came up with the best method I’ve seen yet: put tape in a loop, sticky-side out, and stick leaves onto it. We used painter’s tape.
How easy is that? Getting the size just right is a bit tricky, but kids can absolutely make these for themselves and their friends.
Leaf Stamping
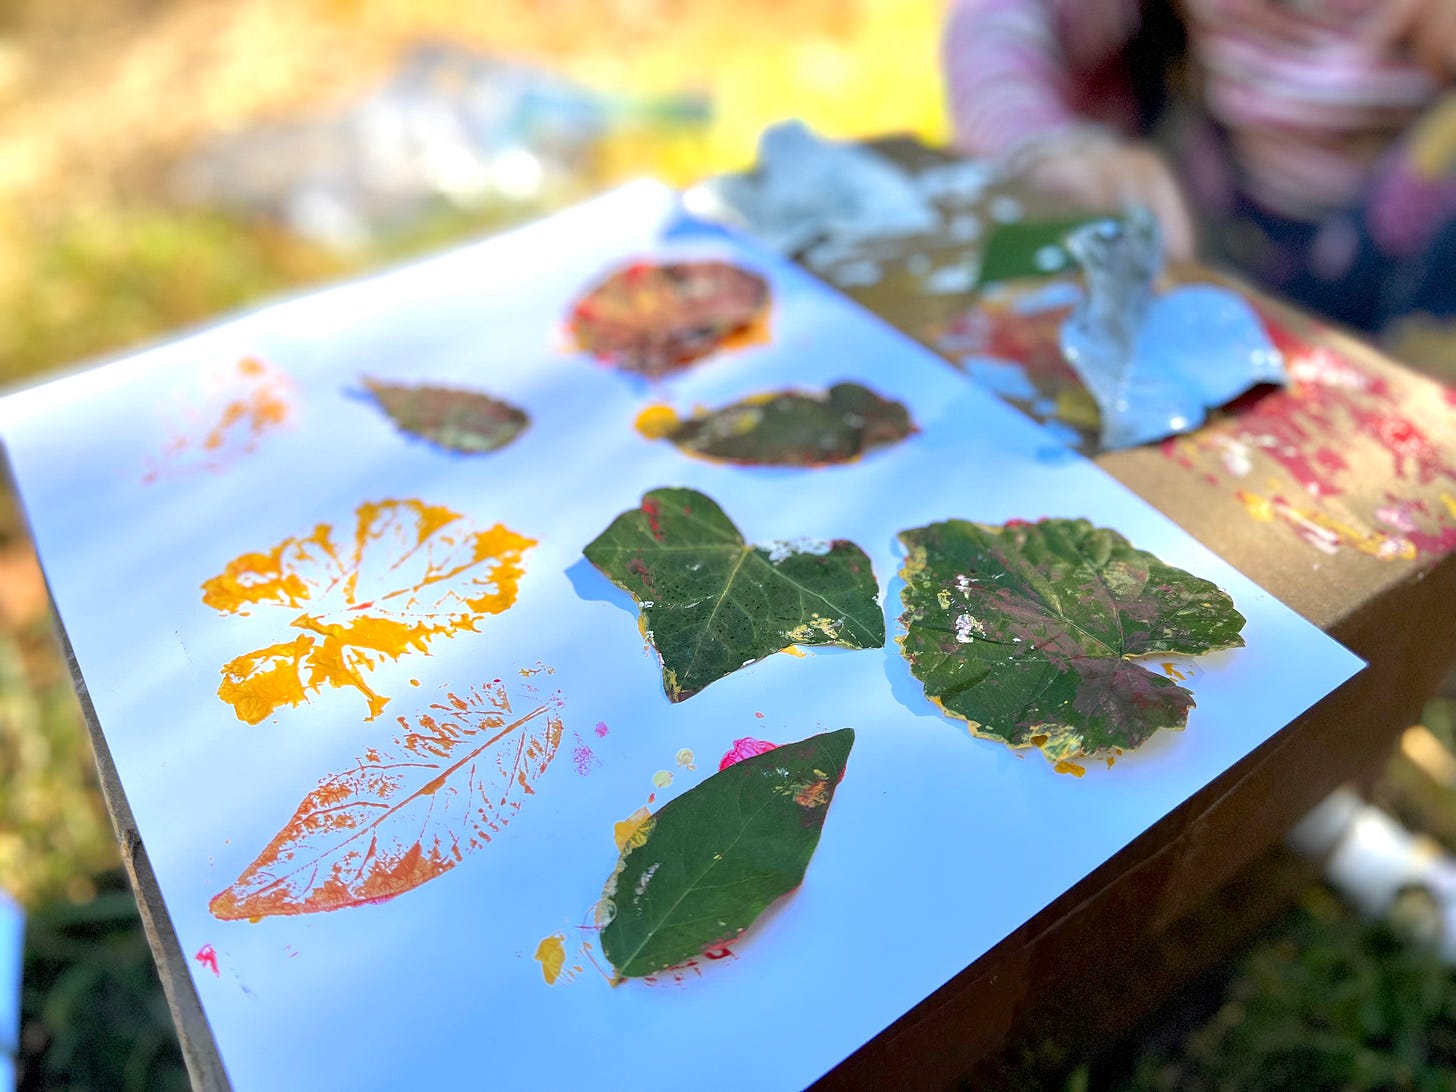
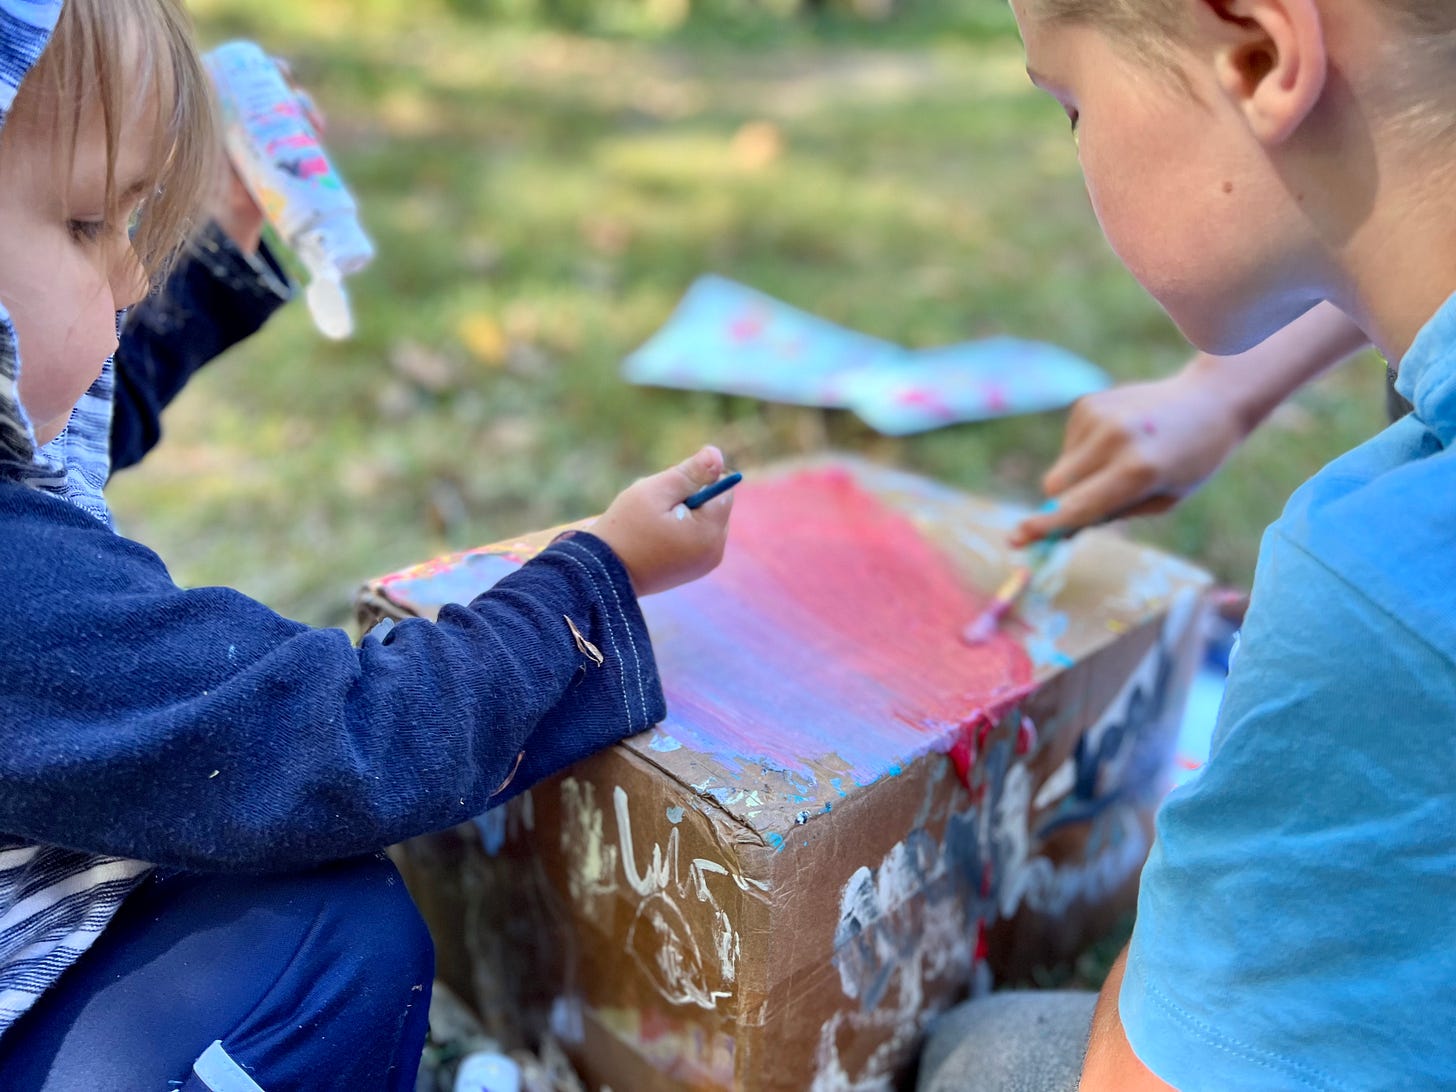
Since this is a messy craft, I suggest bringing a cardboard box outside to be your painting table. Paint leaves, place them on paper, then roll over the leaves to get the imprint of their veins. Some tips:
Bring cardboard outside to be your painting table.
Paint the side of the leaf where the veins are most pronounced; we used the back side of the leaves.
Only use a little bit of paint; too much will make it hard to see the individual veins.
Use the paint bottles themselves as rollers to keep it extra simple 😎
Bonus: Ghost Leaves
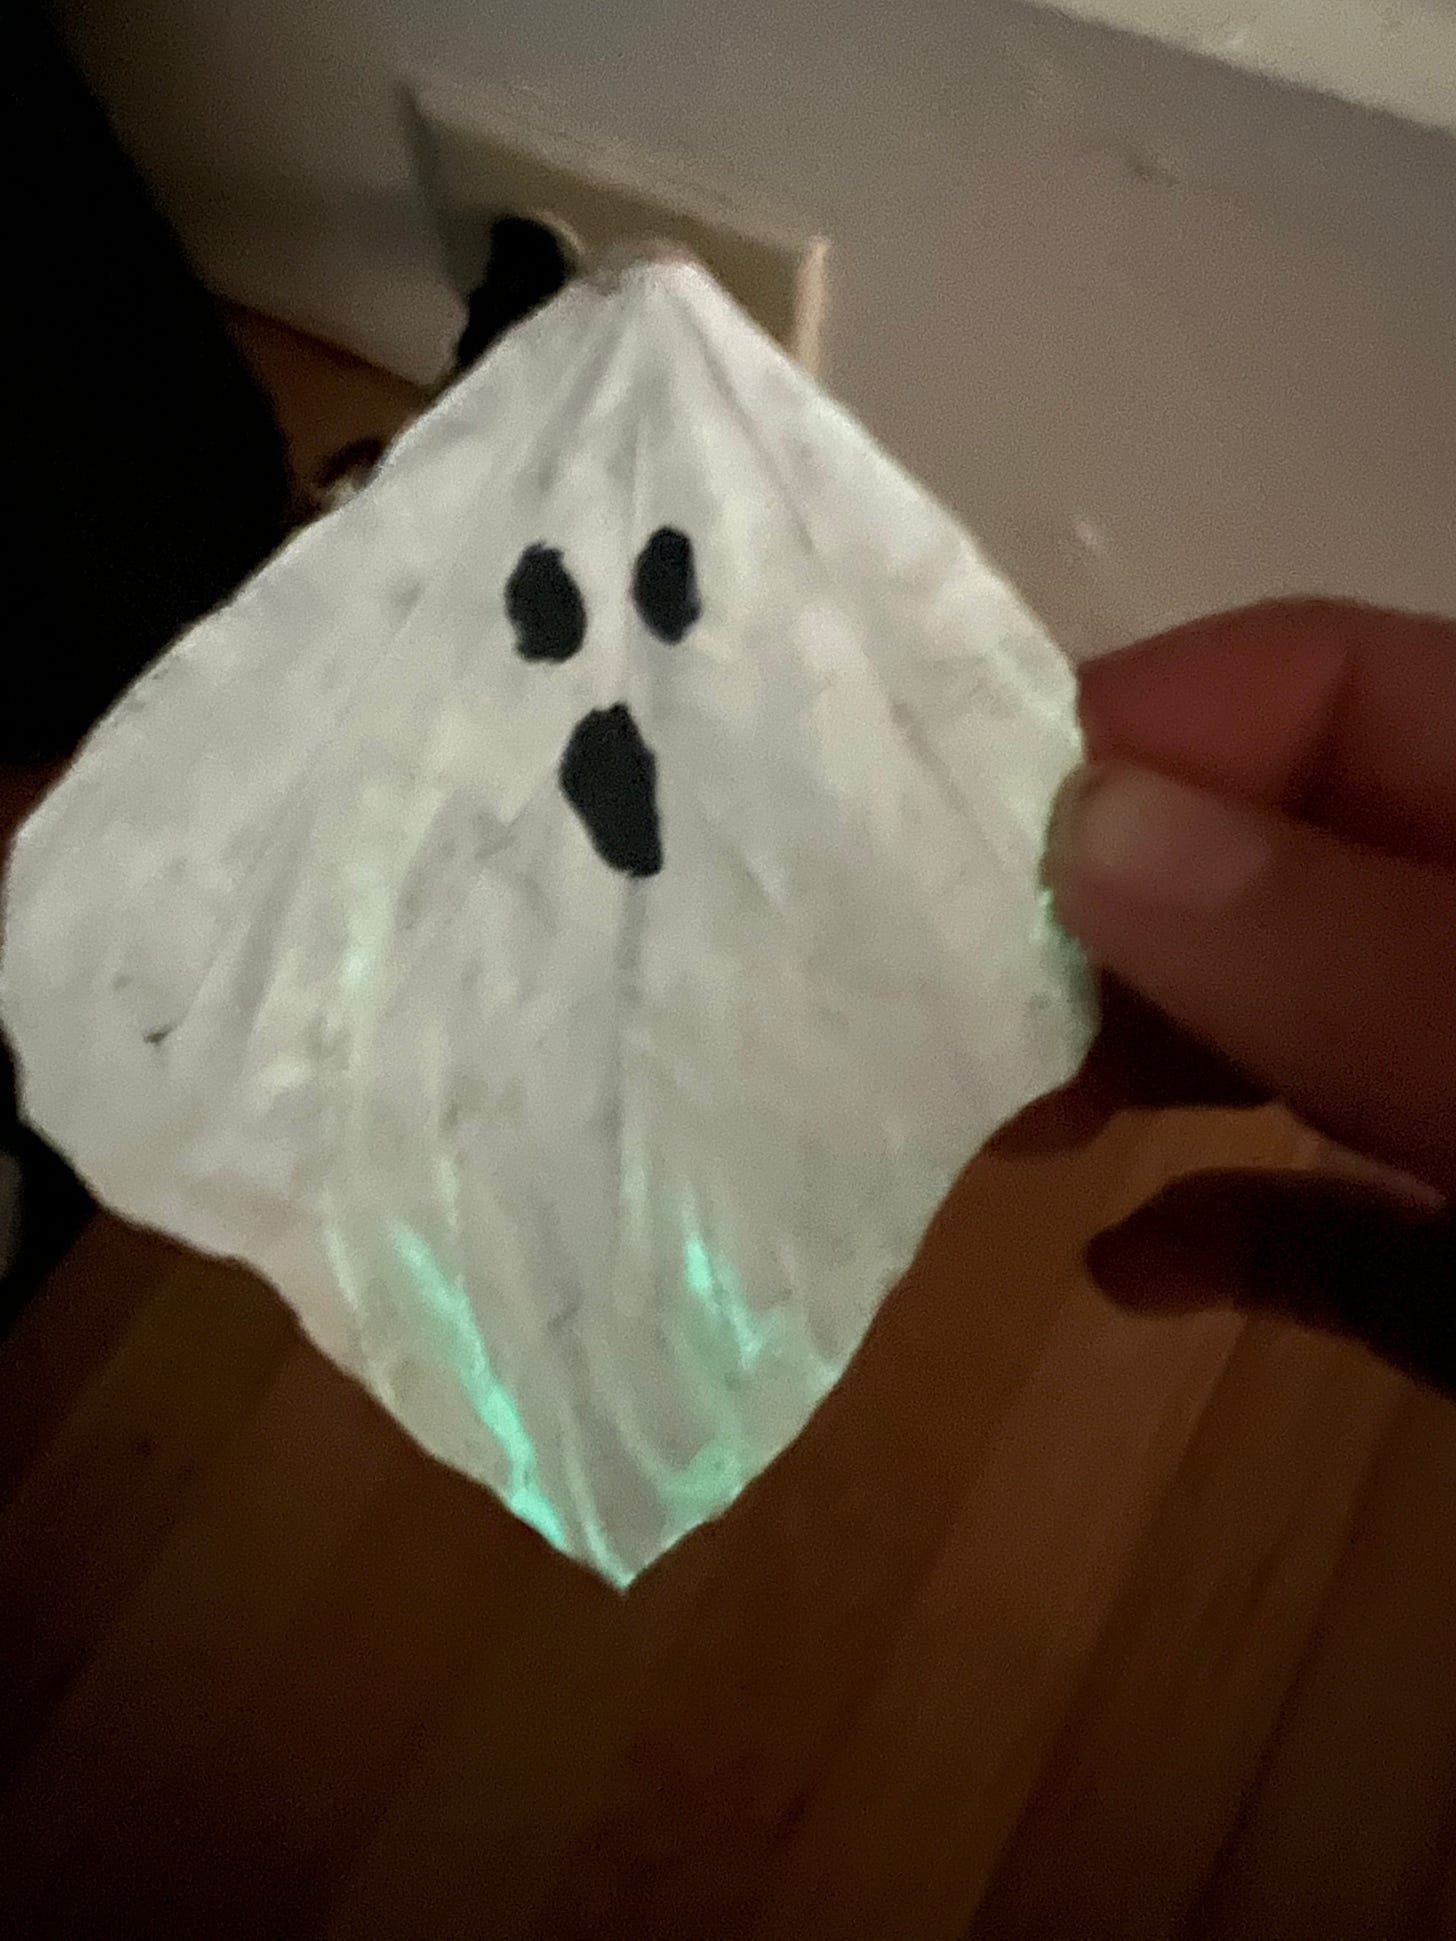
While painting leaves, why not paint some of them white and make little ghosts? We did a layer of glow-in-the-dark paint after the white, and it kind of worked. You could also paint orange leaves as jack-o-lanterns!
Another Bonus: Paint the Box
And, while in the painting mood, encourage your kids to go ahead and paint the box you brought out too 😅 Cardboard and paint are a great combo in general. My kids made a really cool color gradient on their box.
Leaf-Preserving
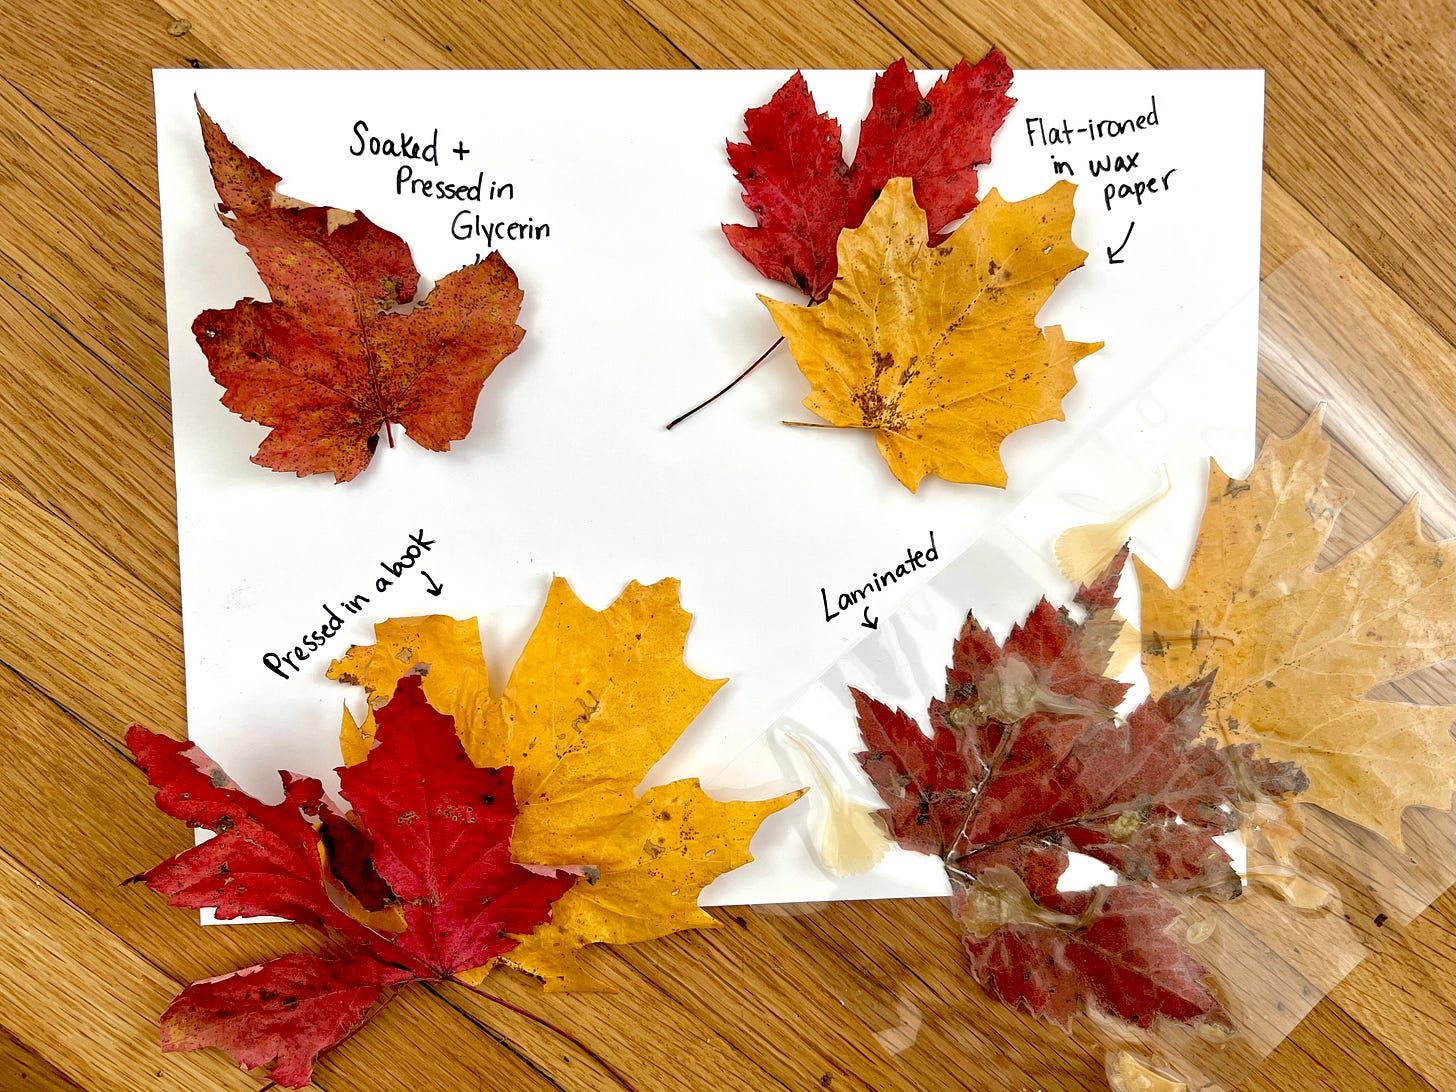
There are a bunch of different ways to preserve leaves. We experimented with four of them last fall, and here’s how they’re doing this year.
From left to right, they were:
A) Soaked in glycerin.
B) Pressed inside a book for a month or so.
C) Ironed between sheets of wax paper with a hair straightener.
D) Laminated. (You could also use contact paper.)
Our favorite method overall seemed to be the simplest: press inside a book. But it’s fun to try different methods and see which is your favorite!
Beeswax Leaves
Here’s another leaf preservation method: dip leaves in beeswax!
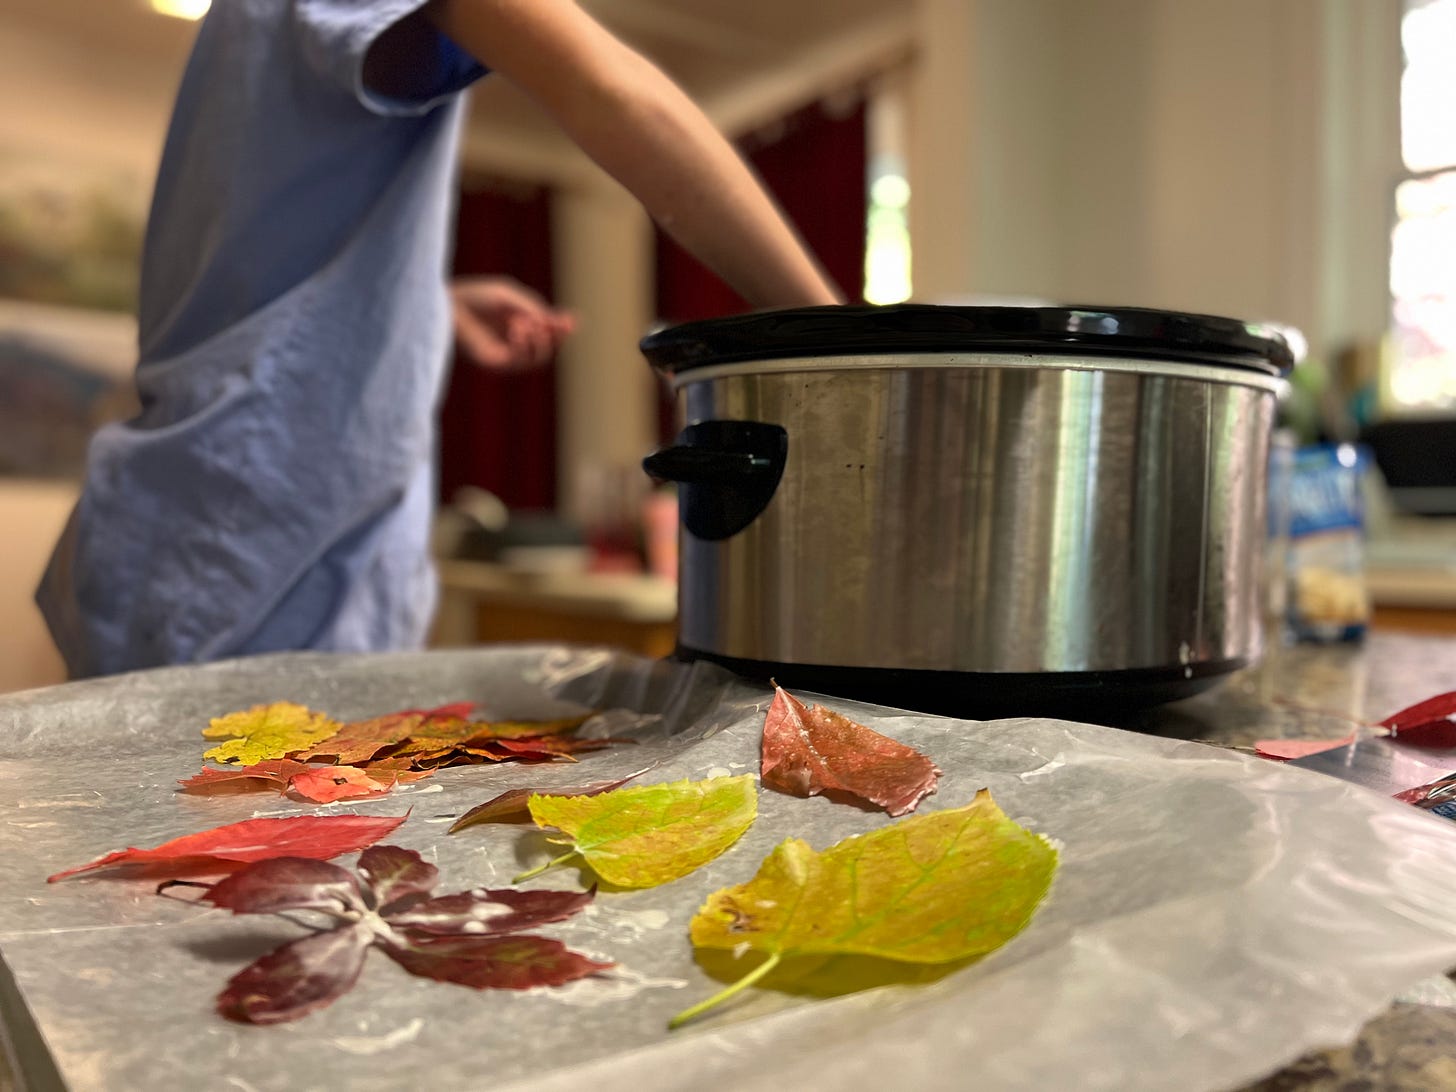
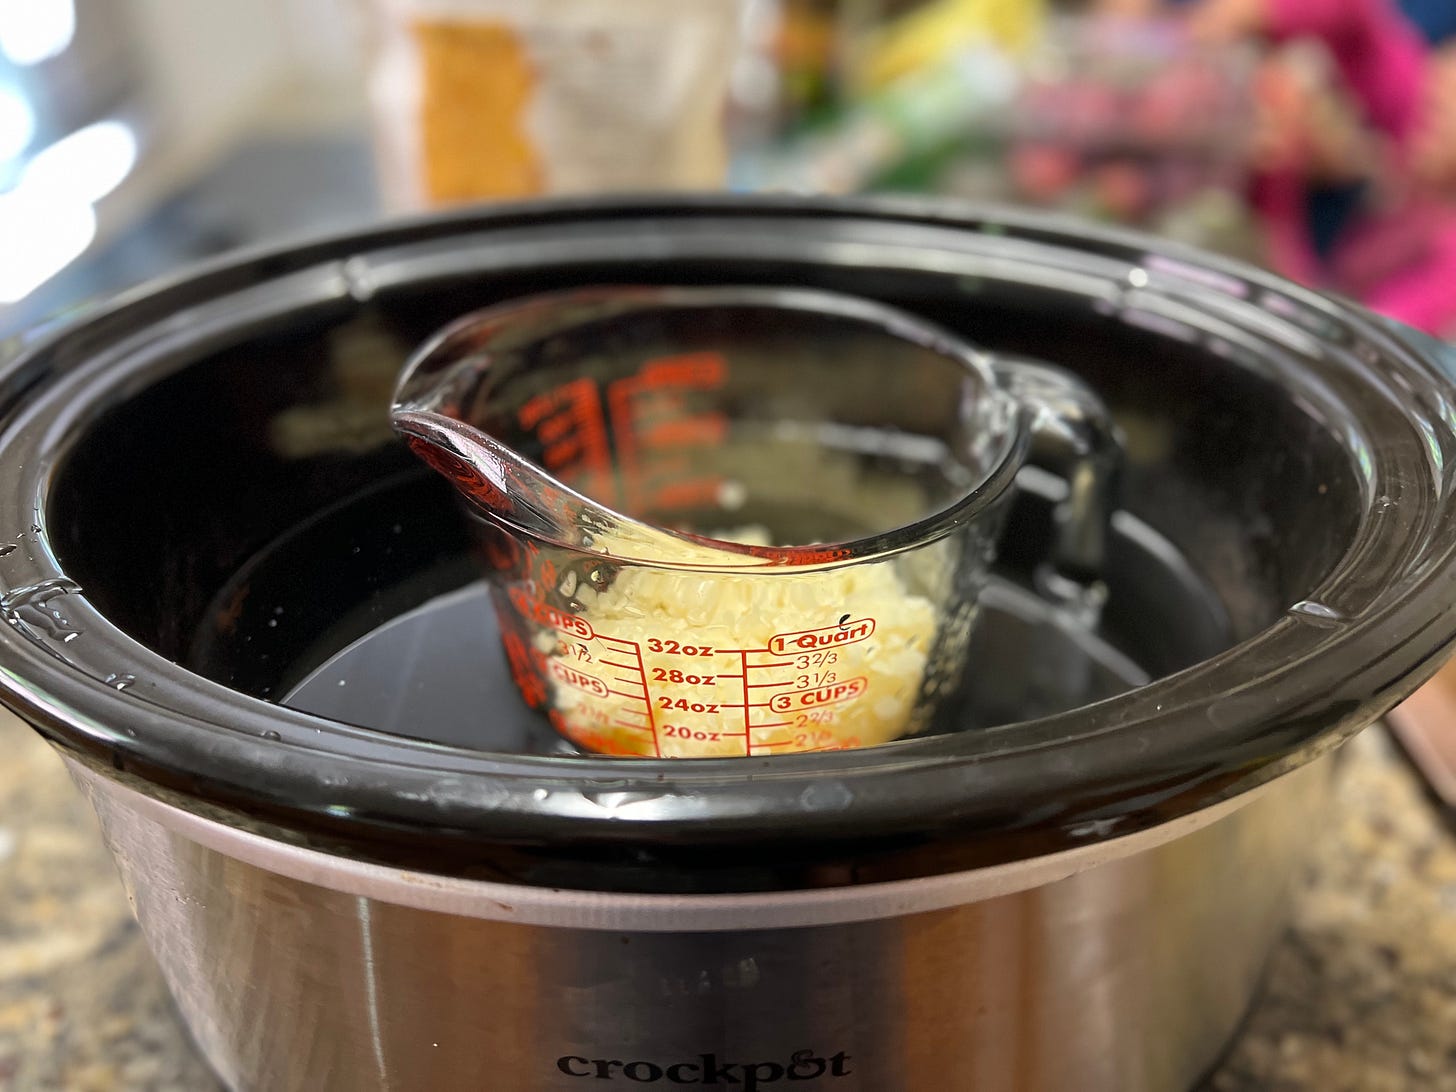
I think the easiest way to do this is to choose a heat-safe bowl that will be reserved for crafting, put it in a crock pot, fill the crock pot with water, and turn it on high. Put beeswax in the crock pot—I used pellets from Amazon—and after a few hours, you’ve got melted wax ready for dipping leaves into! Lay them out on wax paper to dry. Maybe even make a garland out of them!
This was our setup before the wax melted:
There are a lot of crafts you can do with beeswax; we’ll probably reserve a whole week for beeswax crafts in the next couple months 😉
Botanical Pumpkins
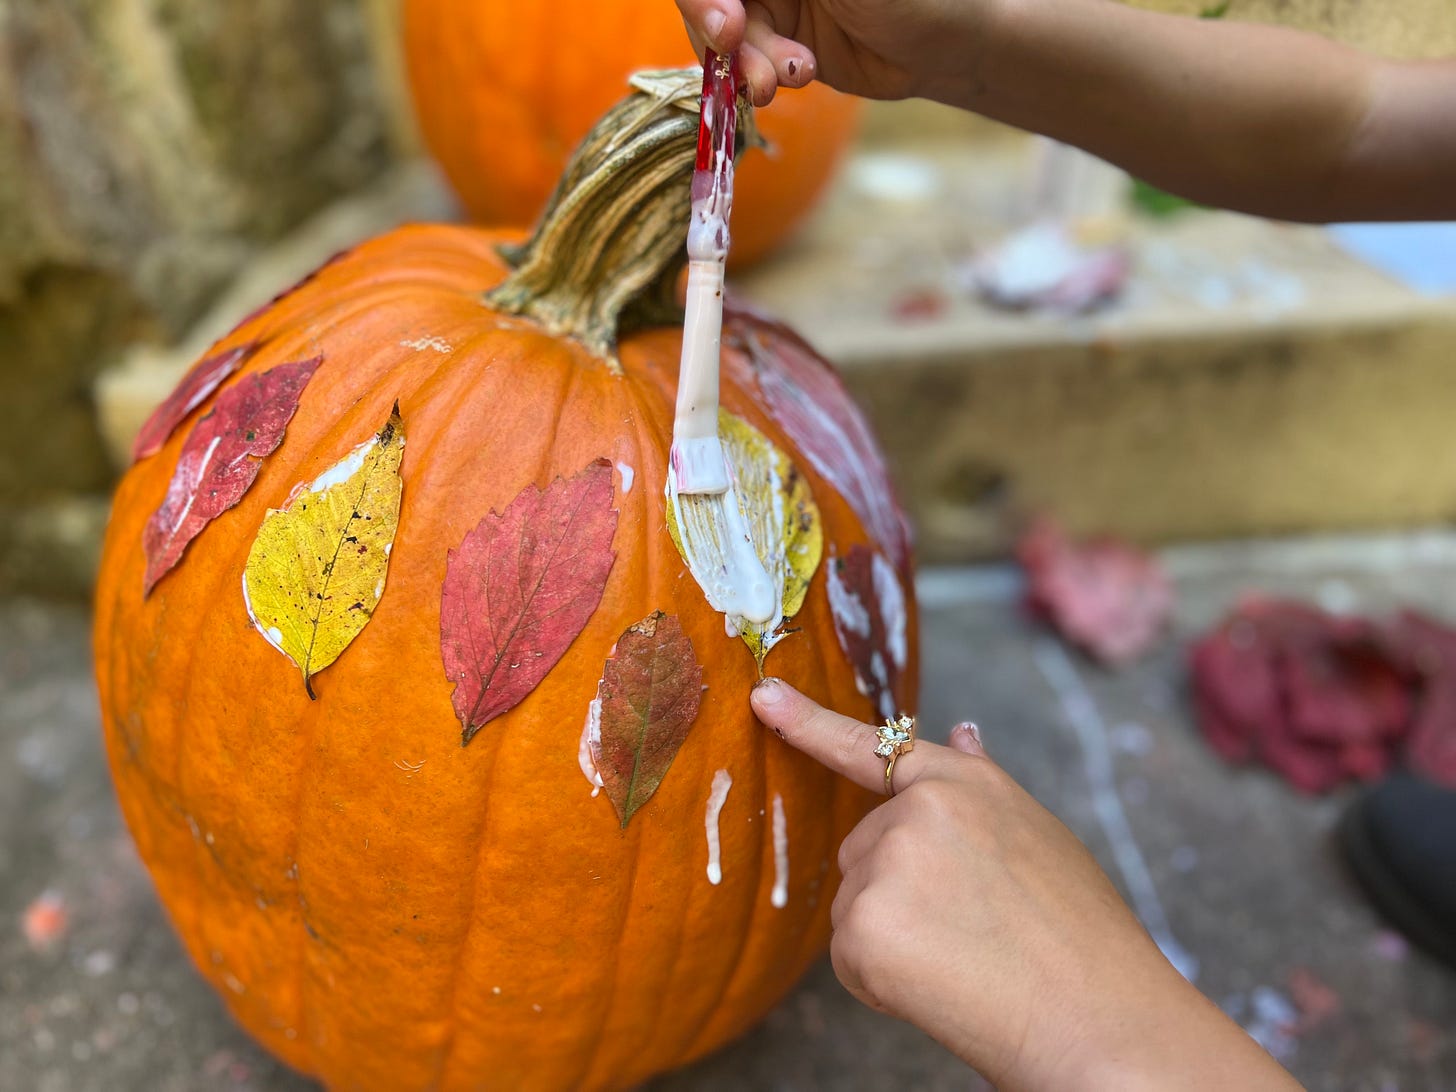
If you don’t feel like carving pumpkins this year, hand your kids some Mod Podge and a paintbrush and tell them to go wild. (Maybe show them some inspiration first; you do not need to paint the pumpkin white, though.) Ferns look really cool on pumpkins.
Nature Collage
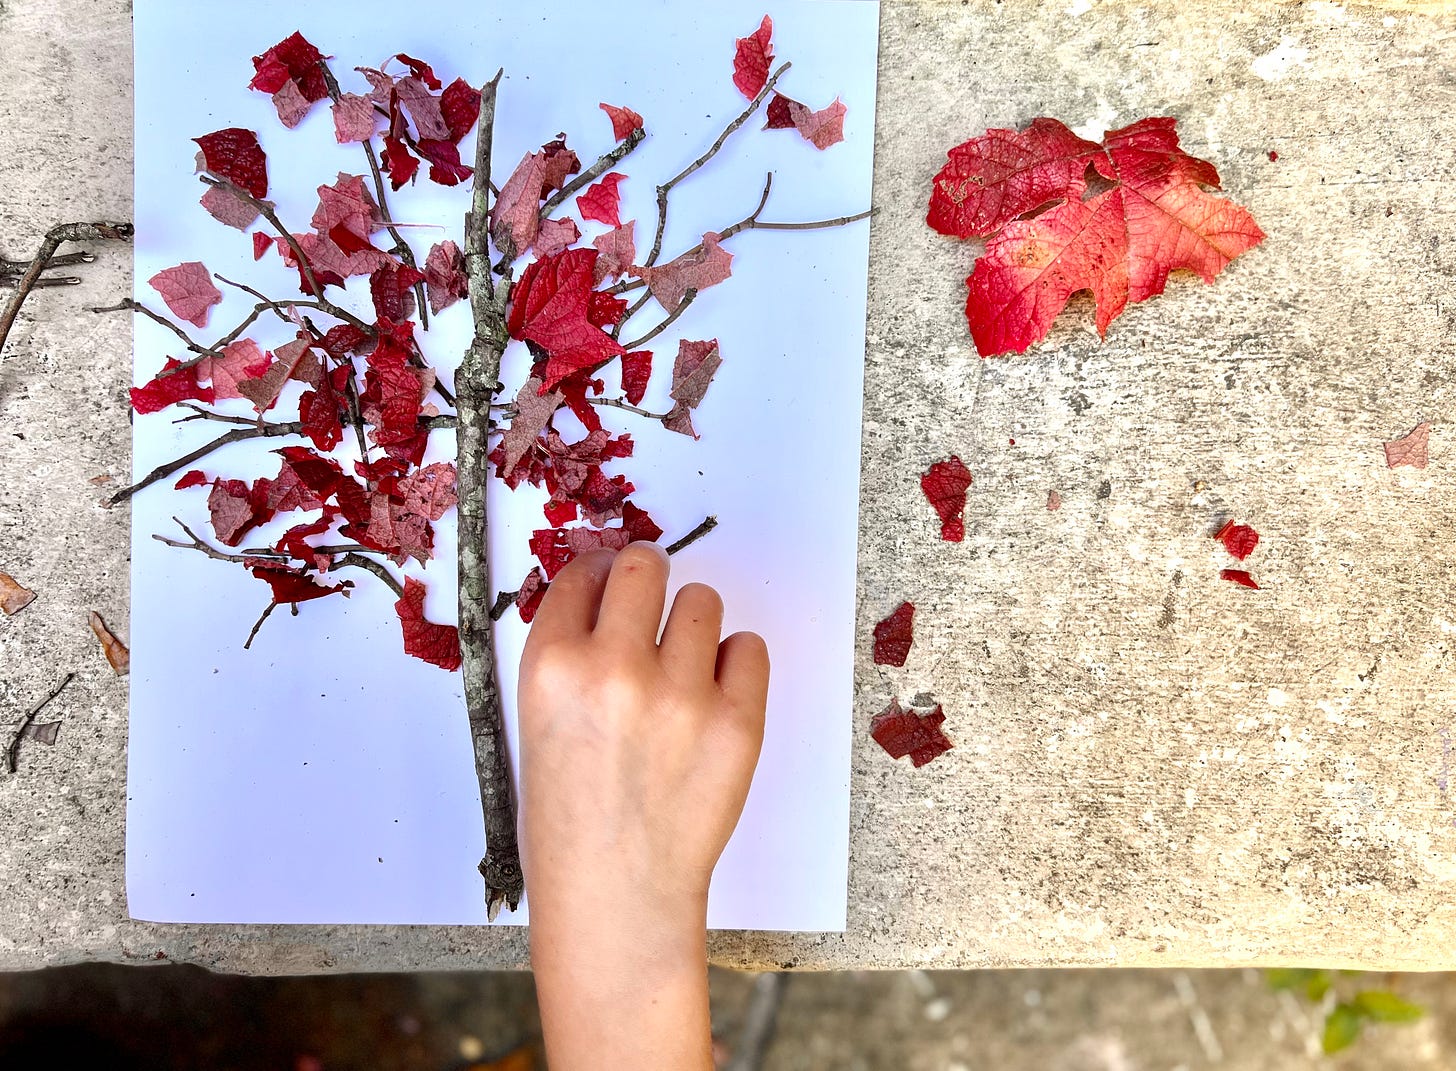
With sticks, torn leaves, and paper, you can make a miniature little tree! (See also: our posts on bean mosaics and foraged art.)
I hope these ideas spark some imagination for you. And I hope you spend a lot of time being in awe like a little kid again this fall. :)
Warmly,
Hope from Family Scripts





Great ideas!! Thanks for sharing! Do you mind if I link to this post in my review post on Friday? (I usually do micro reviews of children’s books and then post links to some of my favorite Substack reads that week.)
Obsessed with the leaf crown idea! Going to try that this weekend! 🍁