Easy DIY Christmas Decorating Traditions
some simple, classic crafts that don't cost a lot of money
The Christmas tree was chopped down at a local farm. The Trader Joe’s snacks and the Nat King Cole Christmas vinyl were ready. The schedule was cleared, the kids’ grandmother was invited. It was Tree Decorating Night. Except…after a frantic search in the basement, I realized that we apparently lost all of our ornaments when we moved from Florida. I hoped we would find them, but…the show must go on.
Thankfully, the kids and I had recently enjoyed seeing the simple ways people made decorations in Victorian times, thanks to this gorgeous video by Little Women Atelier.
We tried a few of the simple ideas, and it was a hit! Even if we find our ornaments next year, we’ll be doing these again because they were simple, inexpensive, and a delight to the senses. Though you’ve probably heard of all these ideas before (except maybe the TikTok one at the end 😅) chances are you haven’t tried them for yourself. It’s worth a try!
Cranberry and Popcorn Garland
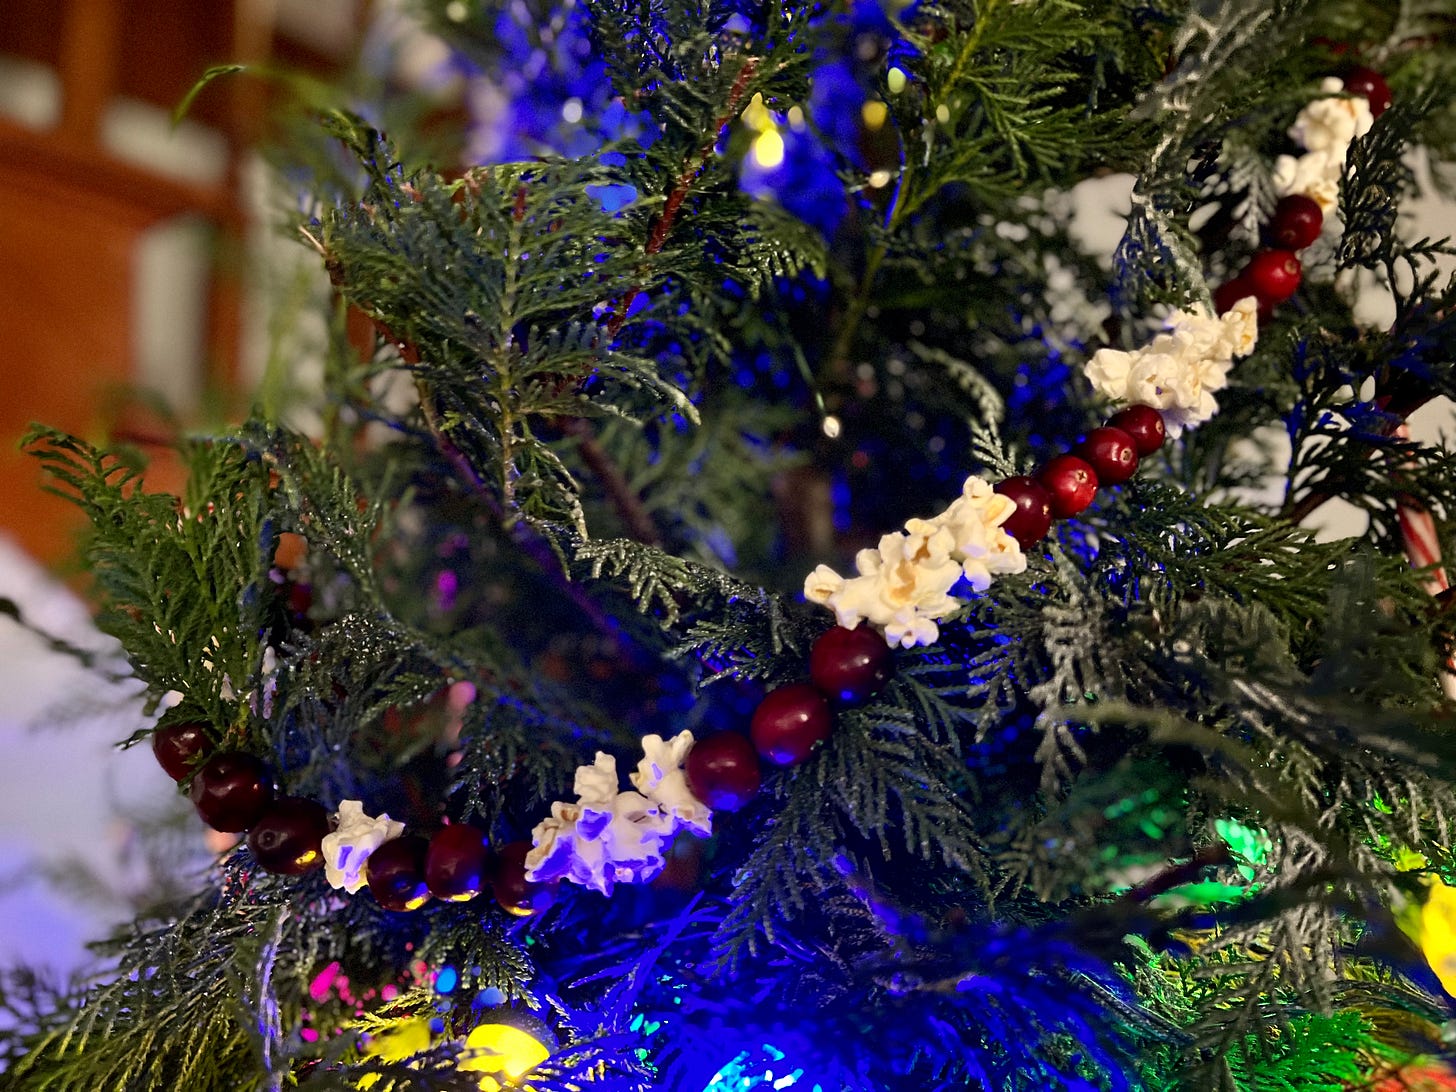
Grab a bag of fresh cranberries—they’re about $2—and make some popcorn, preferably from scratch with no butter. Thread a needle, tie a knot, and start stringing a pattern of three popcorn, then three cranberries, and so on.
We had three strings going at once so they wouldn’t get too heavy or difficult to manage. They made such a lovely, rewarding addition to the tree, and many giggles were had…especially when the kids decided to try raw cranberries 🤪
Dried Orange Slices
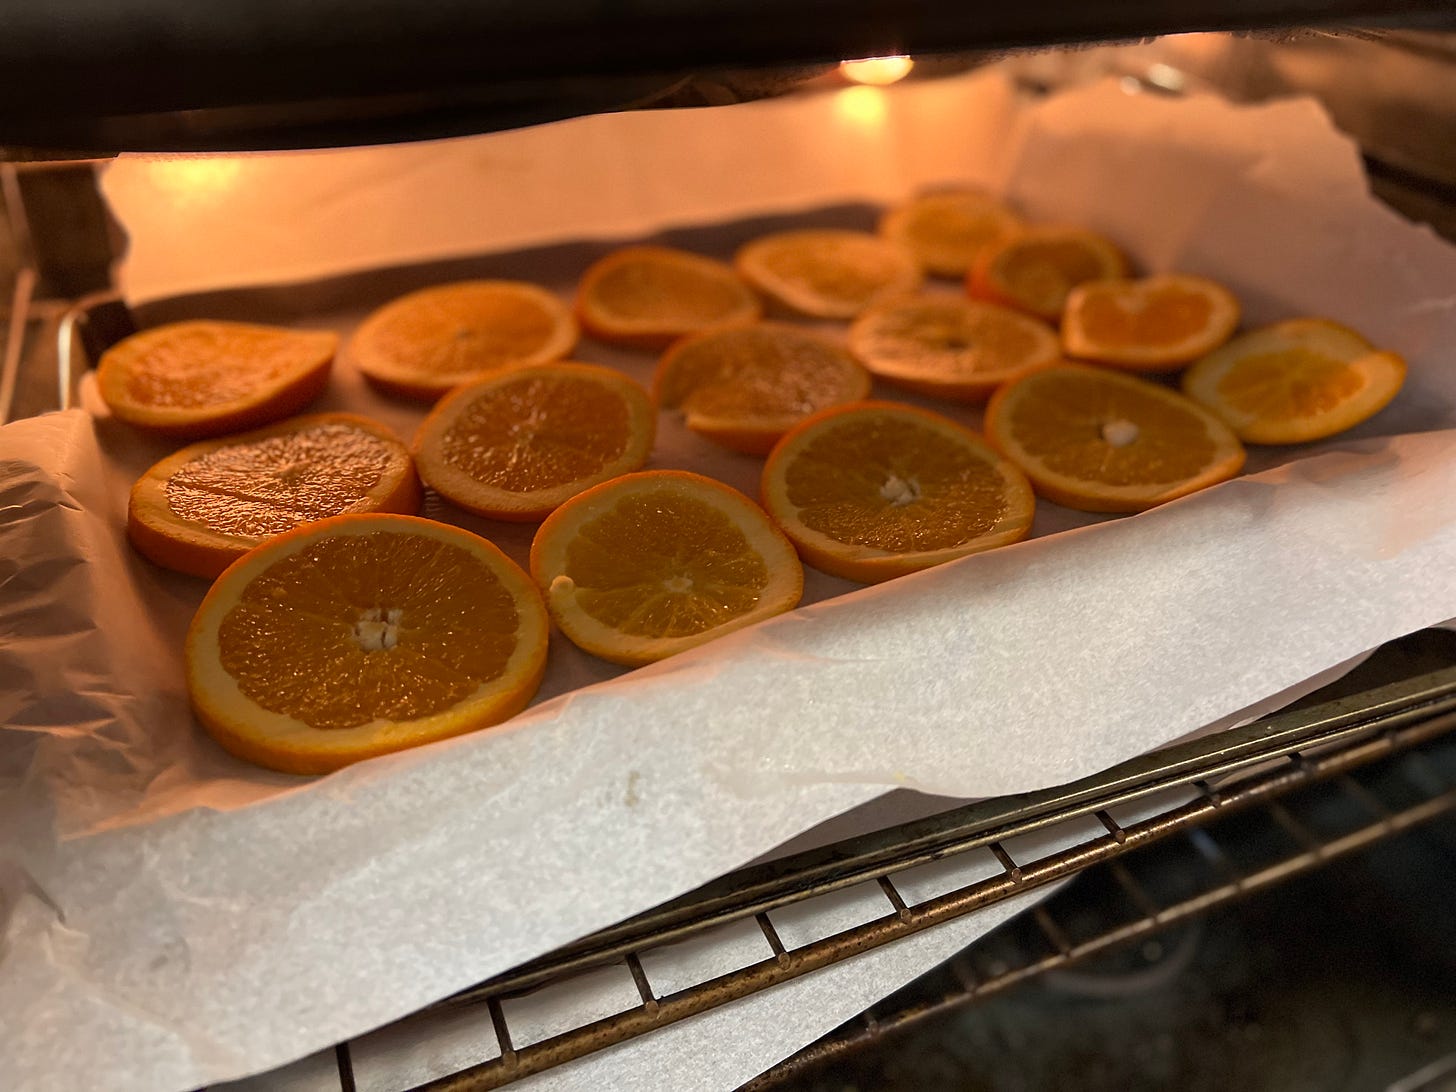
Preheat your oven to 200°F and line a baking sheet with parchment paper. Thinly slice an orange and place them on the sheet. You don’t have to use too many; we filled a whole baking sheet with only two oranges. Then bake for about three hours. Your home will smell amazing.
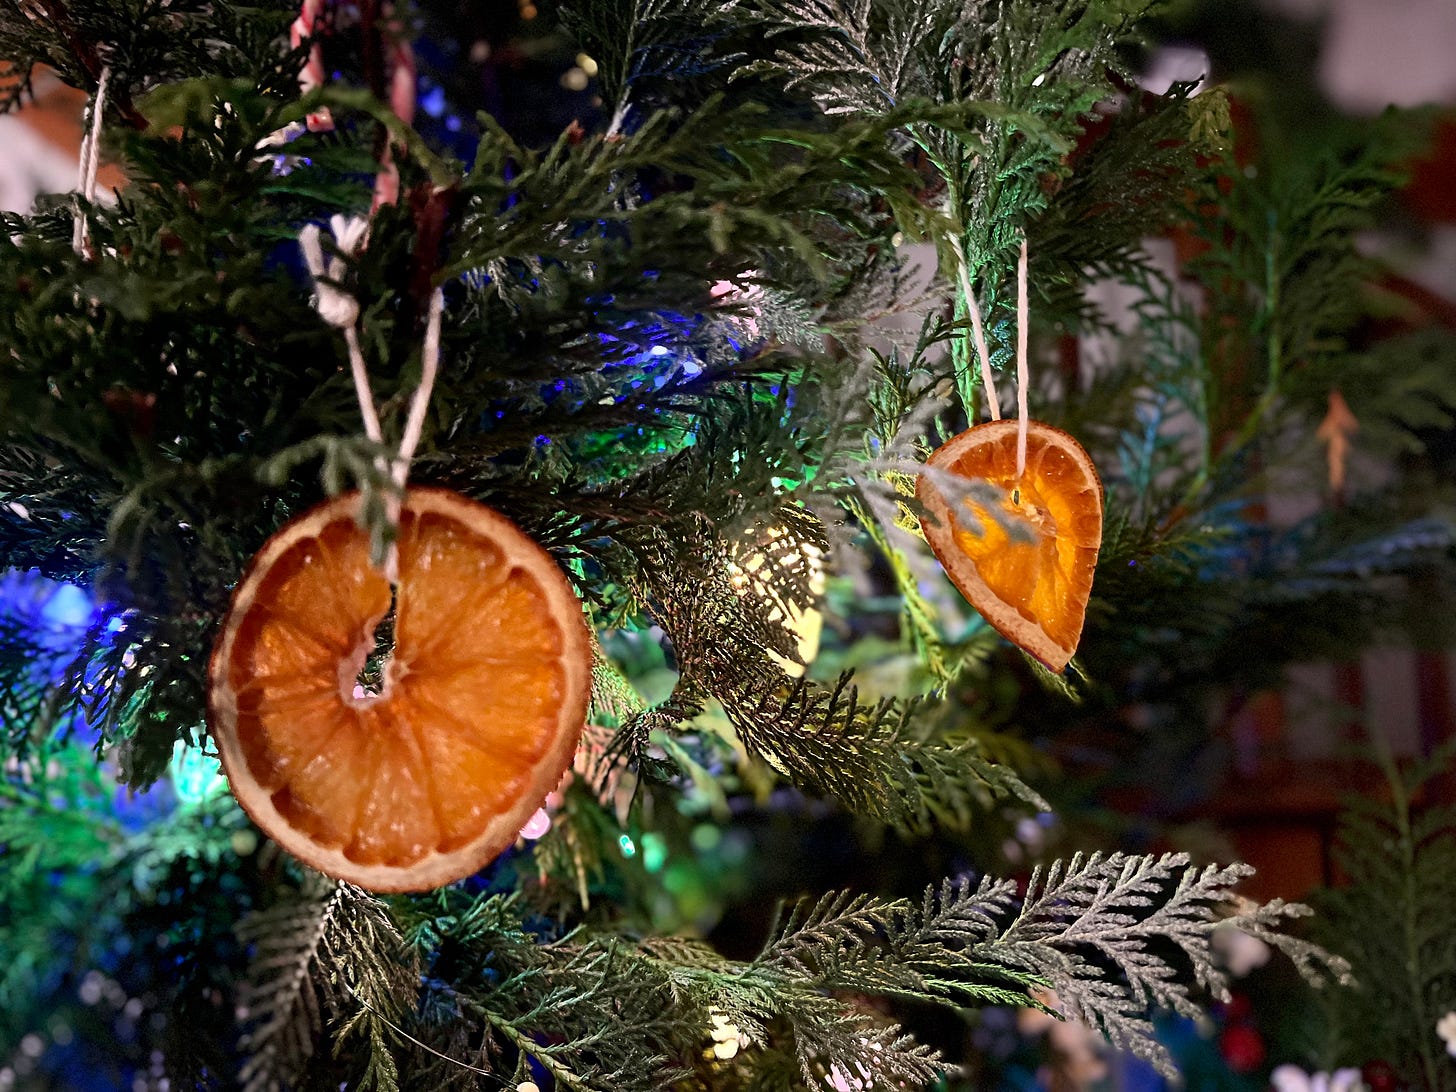
Once they’re done, tie a string through the hole in the middle of the slice or make your own. They make such charming ornaments and you could even make a garland for your mantle or windows 🤩 Plus, dried orange slices are supposed to last a year or two; ours from last year are still fine!
Salt Dough Ornaments
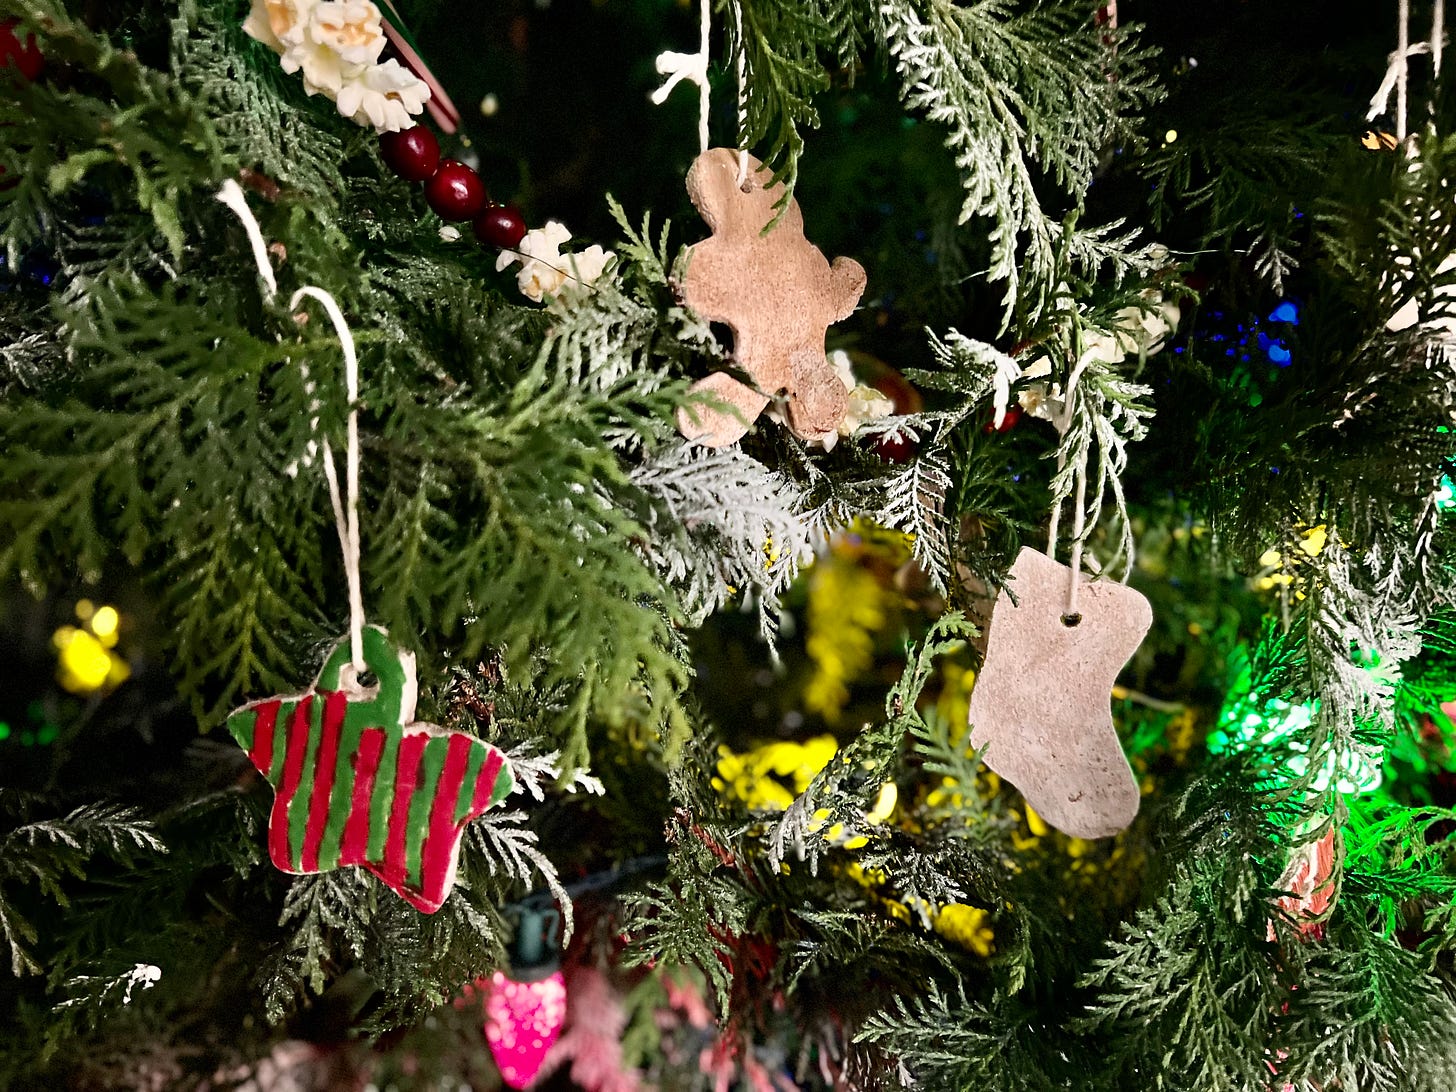
The oven needs to be at 200°F for about three hours, so you can bake these with the oranges, and they might even all be done at the same time! Mix about 2 cups of flour, 1/2 cup of salt, and 3/4 cups of warm water. (That’s a half-recipe from this site.) You might also want to mix cinnamon with the dough if you want it to look more brown.
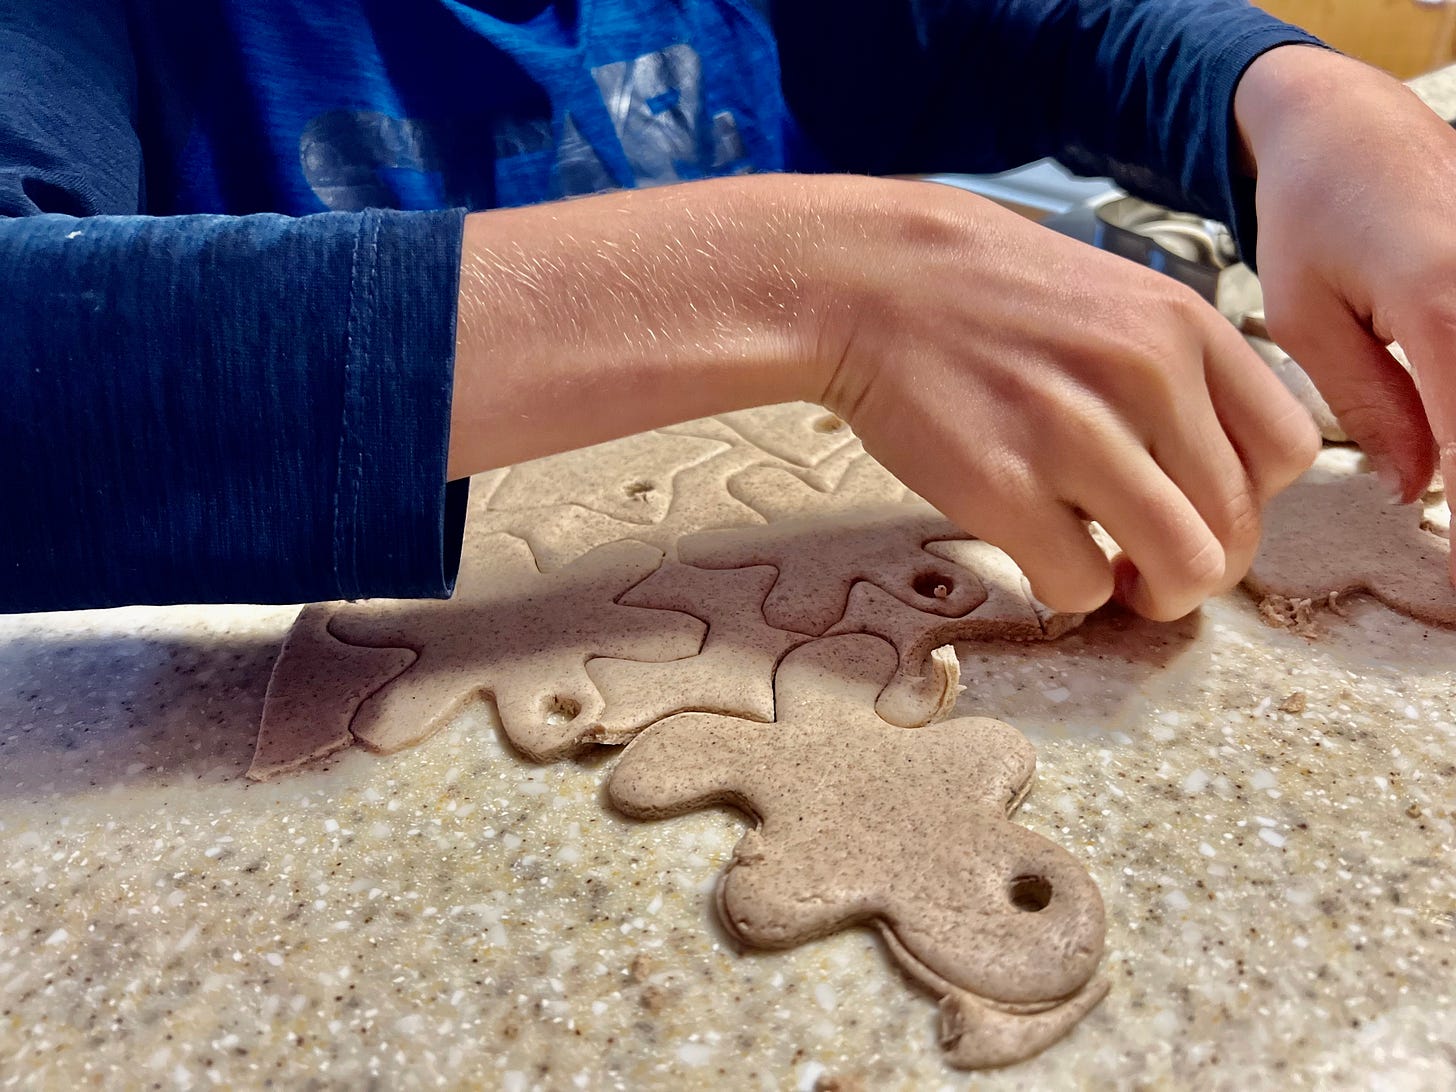
Roll out your dough with a bottle or rolling pin, and cut out shapes with cookie cutters. Don’t forget to poke a hole with a straw or eraser; that hole will shrink up when it bakes and you’ll use it for stringing the ornament.
Once they’re done, you can paint them, draw on them with Sharpies, or leave them as-is. Clay also makes a decent diffuser, so you can put essential oils on your ornaments to spruce up your tree (pun intended) or even to make your car smell a little fresher!
Because of the preservatives in salt, these should last next year, too.
Painted Cardboard
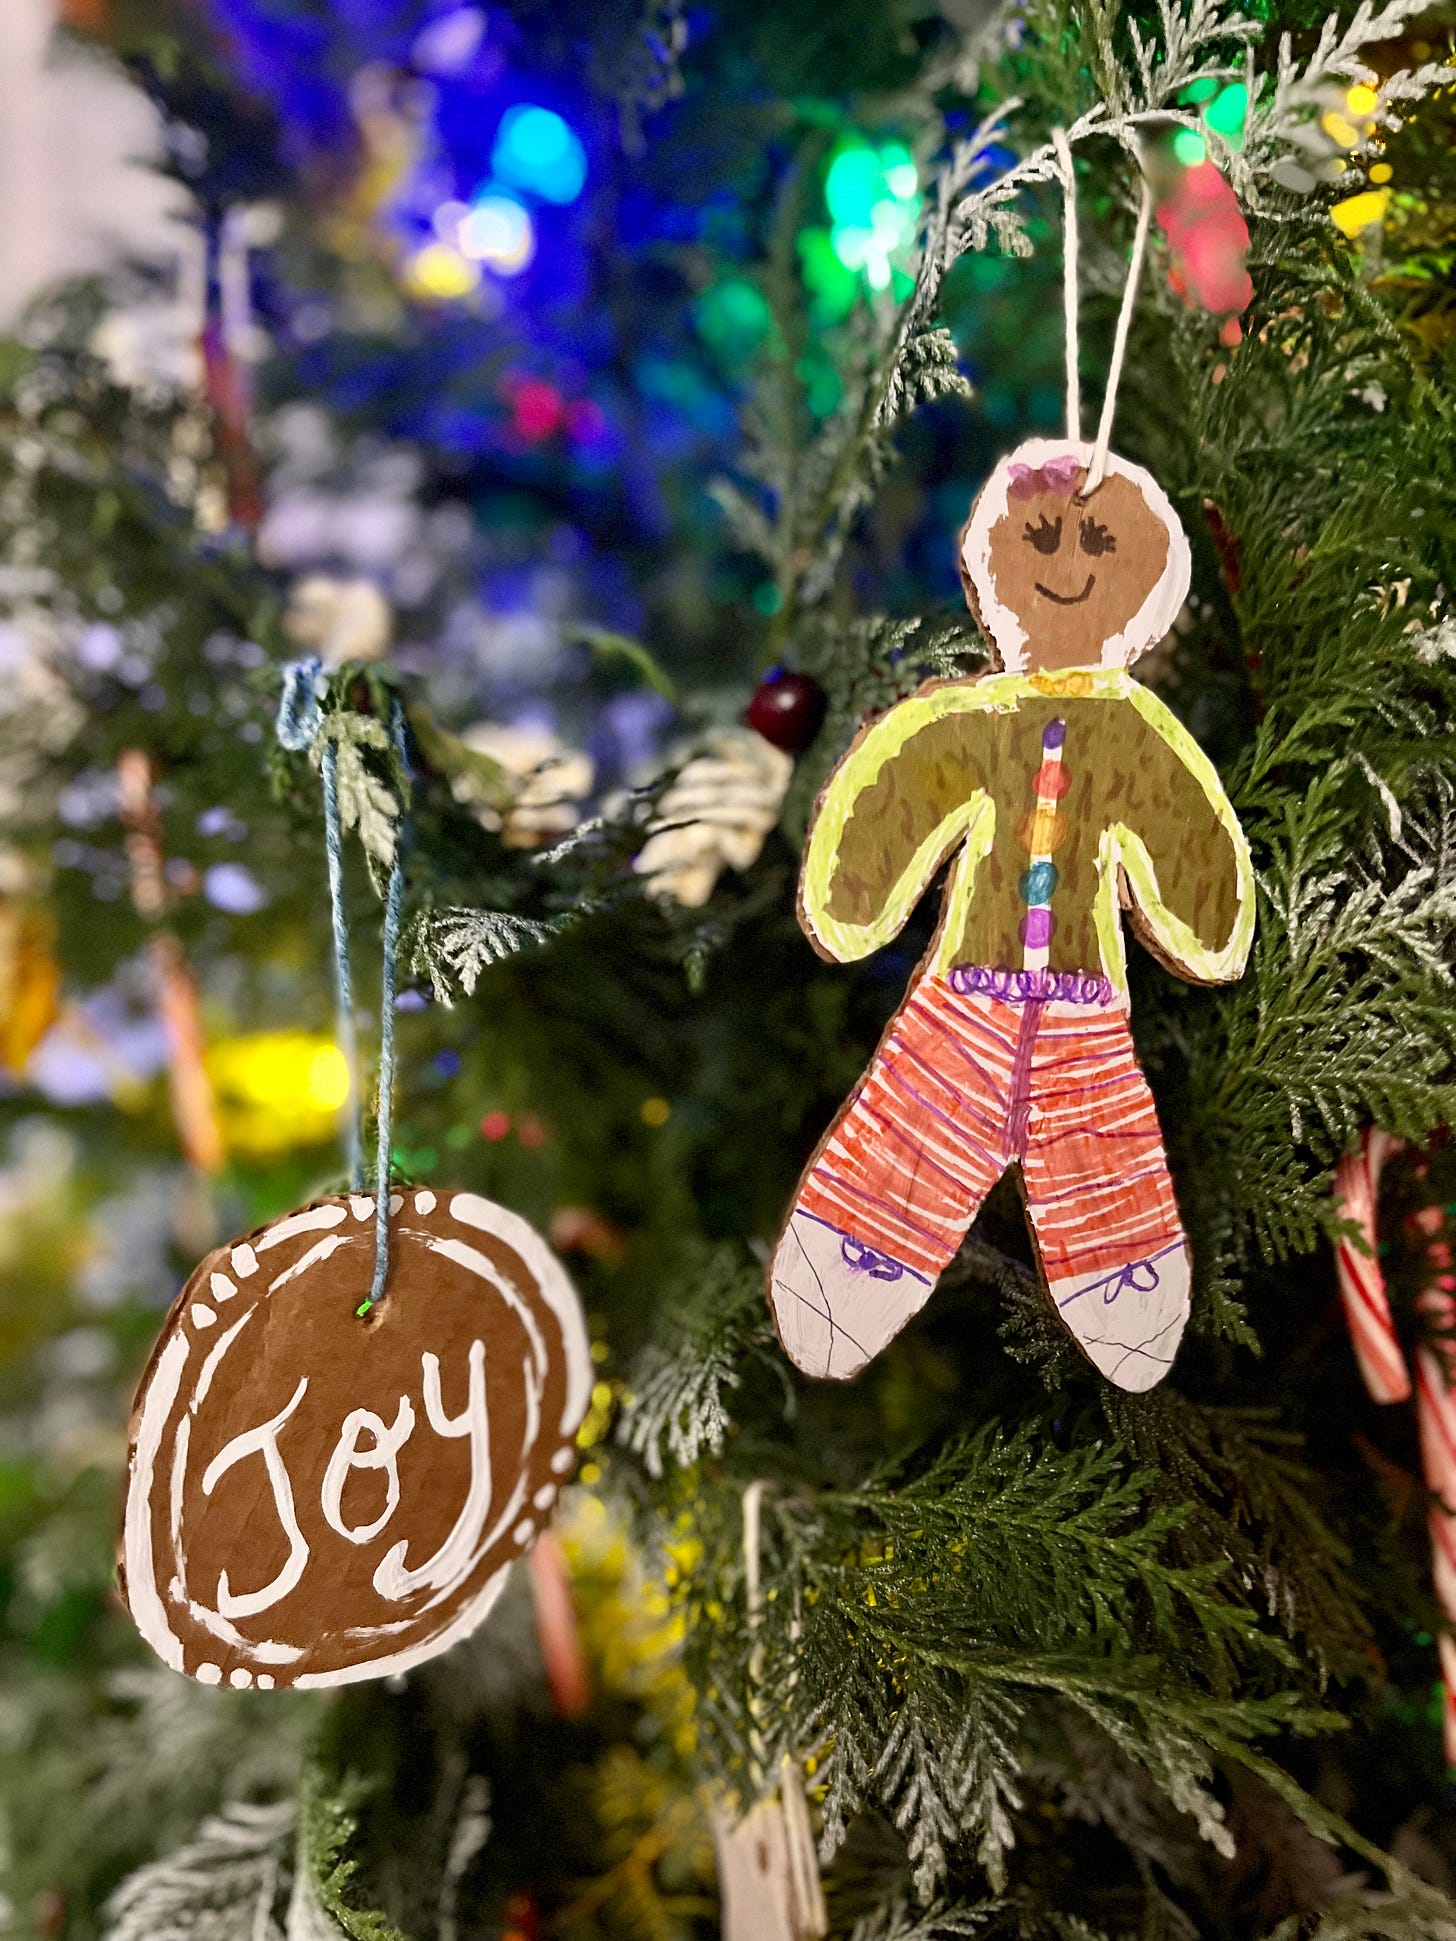
Cut out shapes on cardboard, and paint them with acrylic paint, chalk markers, or even Wite-Out, and you’ve got some special ornaments that cost you $0!
Bonus Idea: Melted Plastic Cups
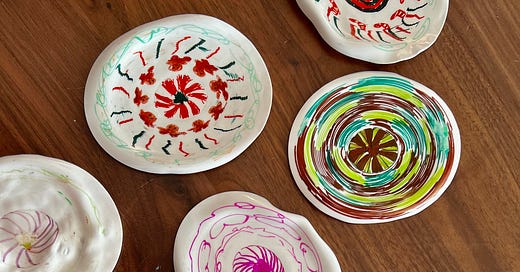
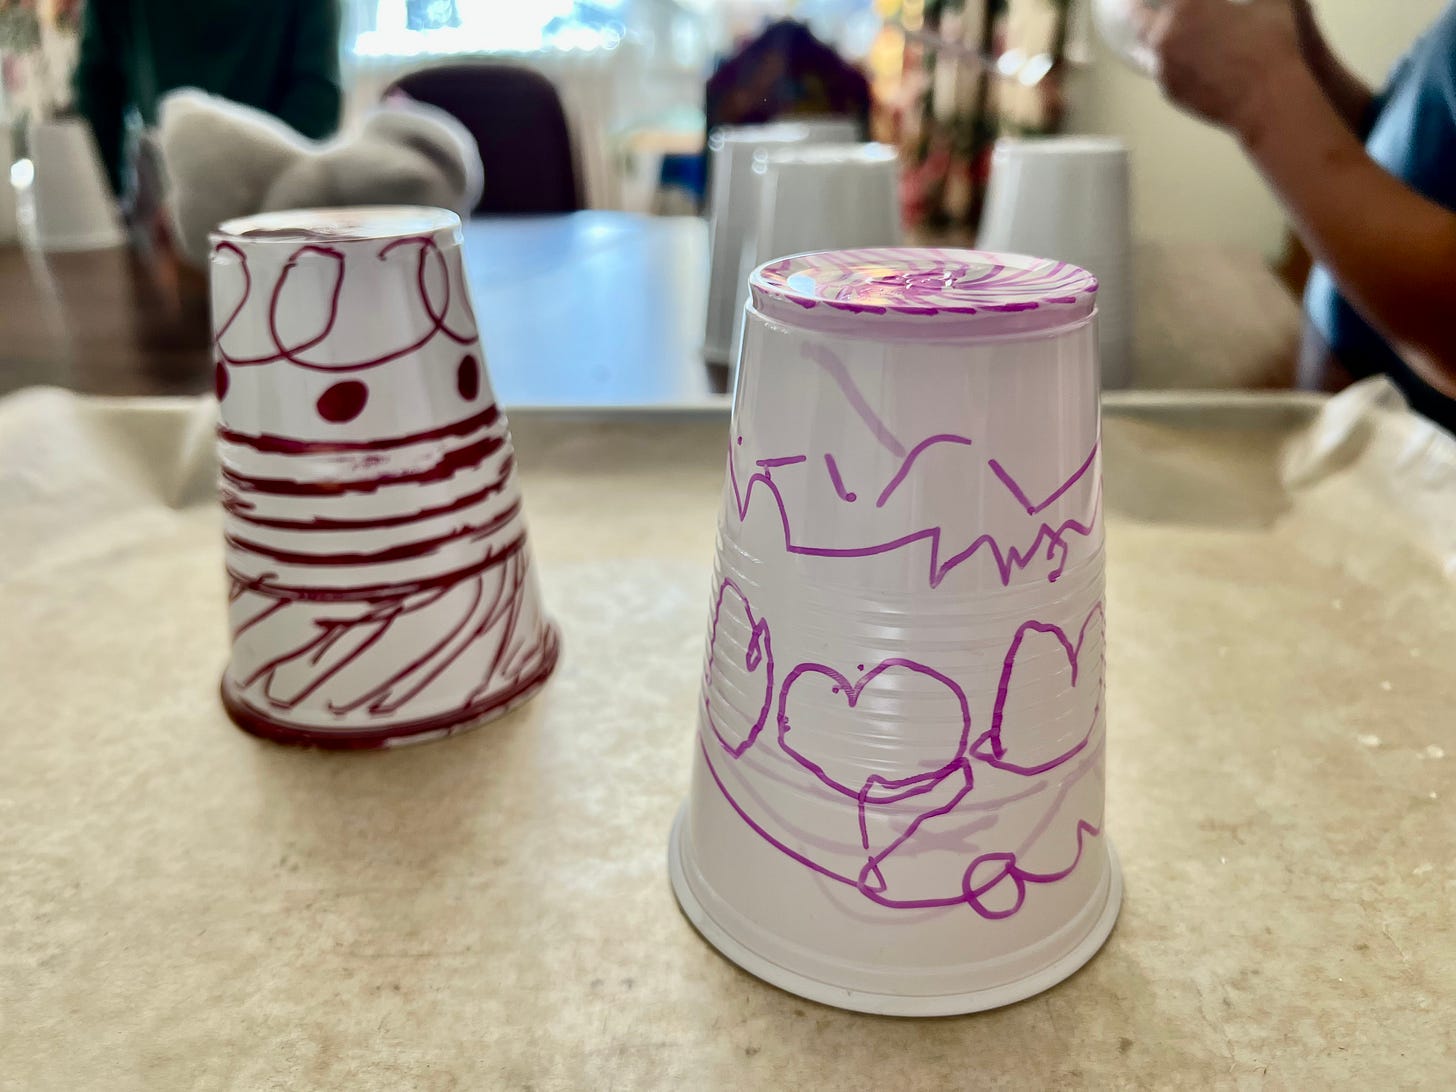
Sometimes TikTok/Instagram reels introduce us to ideas that seem too interesting to not try. Such was the case with this idea to decorate plastic white cups with Sharpies, then broil them! It’s a great opportunity to let your kids of all ages be creative and experiment. Whatever they draw in the center (the bottom of the cup) will stay the same, but the sides will totally transform as they flatten. Also, you can decorate the insides of the cup to see what they look like on the back!
Bake them on a parchment-paper-lined baking sheet at 500°F or broil. It happens quickly, so make sure you watch them the whole time as the cups turn into a dome-shape then flatten out into discs. They cool quickly, and then they can be used as ornaments, tea party plates, or whatever else the kids come up with.
The coolest thing about the craft isn’t the results, but the process. It’s a time-consuming task even if the kids scribble on the cups, so sit back and relax 😉
I hope these ideas offered some inspiration to you; our family really enjoyed them. And it was a lot cheaper than buying new ornaments.
Warmly,
Hope from Family Scripts






These are lovely ideas, Hope, but my favorite part of all of this is how you took your ornament loss in stride and not only made the best of it, but made it beautiful. (If I lost my ornaments, it would take me a long time to recover and I'm not certain I've have the strength of character or good attitude to do anything even close to this, so huge kudos to you.)
Love these ideas! Thanks!